My first repo
Format
This is designed as an in-person, facilitated workshop with pairs of learners working together, or individually.
Target Audience
People new to Git/GitHub looking for some practice with the workflow.
Materials
- An Internet connection to access the GitHub site
- A GitHub account
Introduction
GitHub is a web-based interface for version control, a way of keeping track of changes made to a collection of working documents. GitHub provides a structure and space for communicating about collaborative work on open projects.
This exercise walks you through creating your first repository using GitHub through the web interface. You'll learn how to make commits, create issues, and create branches and merge them. You will also begin writing things in Markdown - a simple "markup" language used for blogging, documentation, and even writing papers!
The example screenshots shown below follow Joey planning a party. You can either do the same as him, or add your own information.
The Brief
Add a file that you'd like to version control to a new repository on GitHub. Change it and commit your change. Try creating a new branch, make a few changes then submit a pull request to yourself and merge the changes.
My first repository: Step by step
-
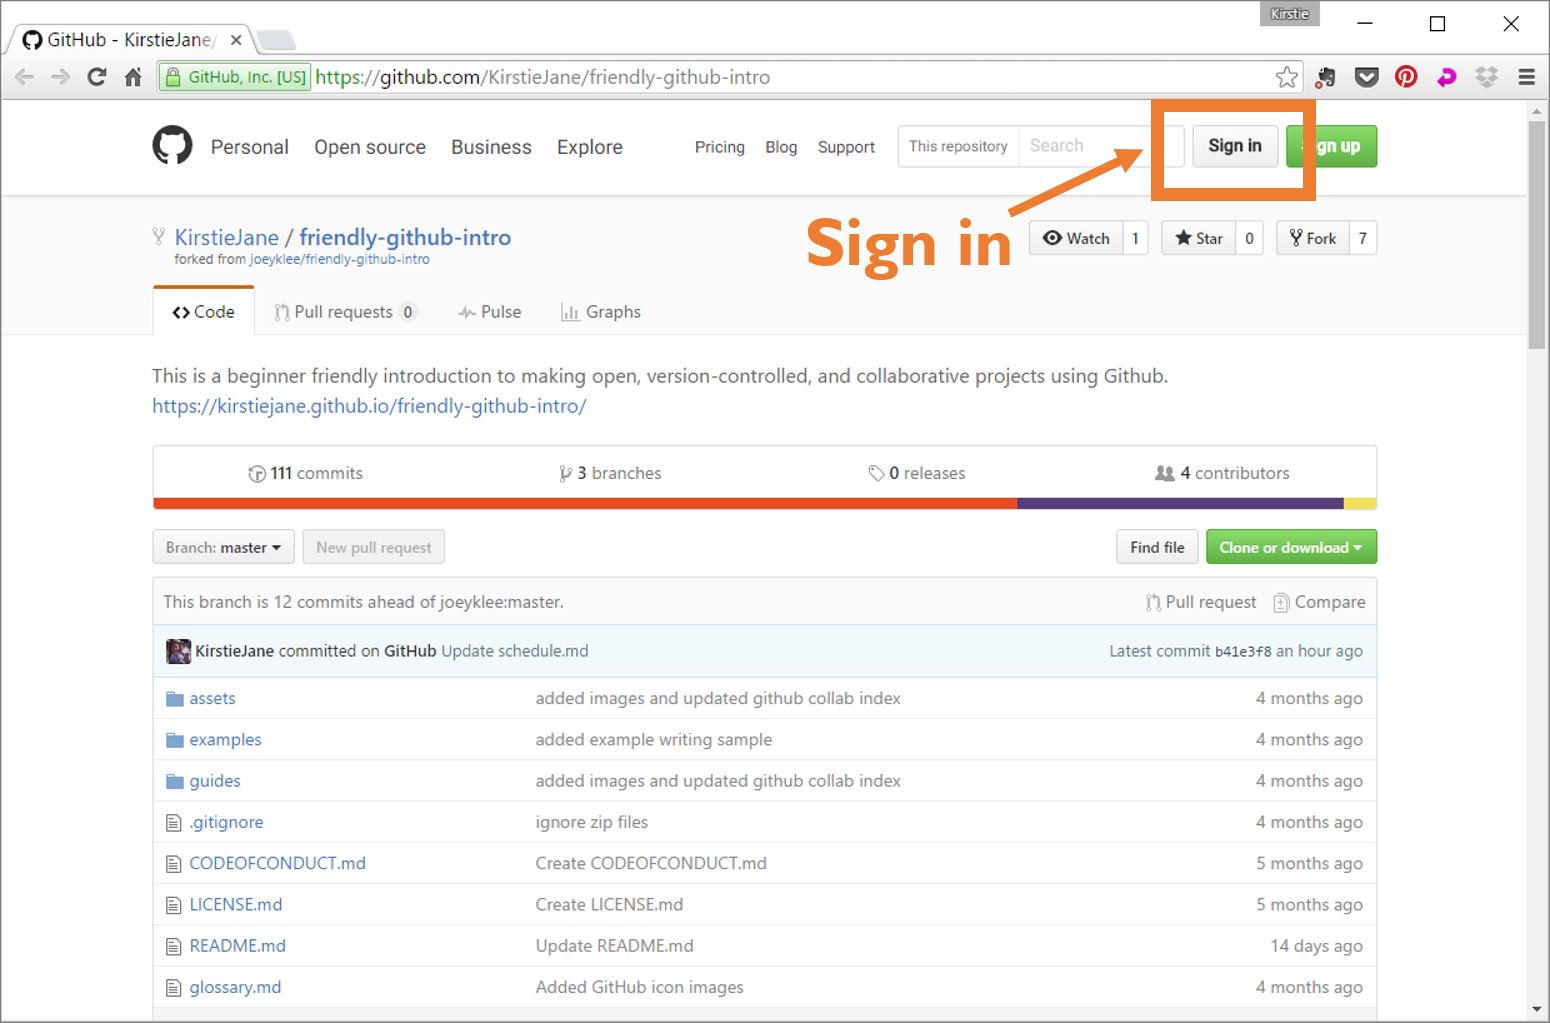
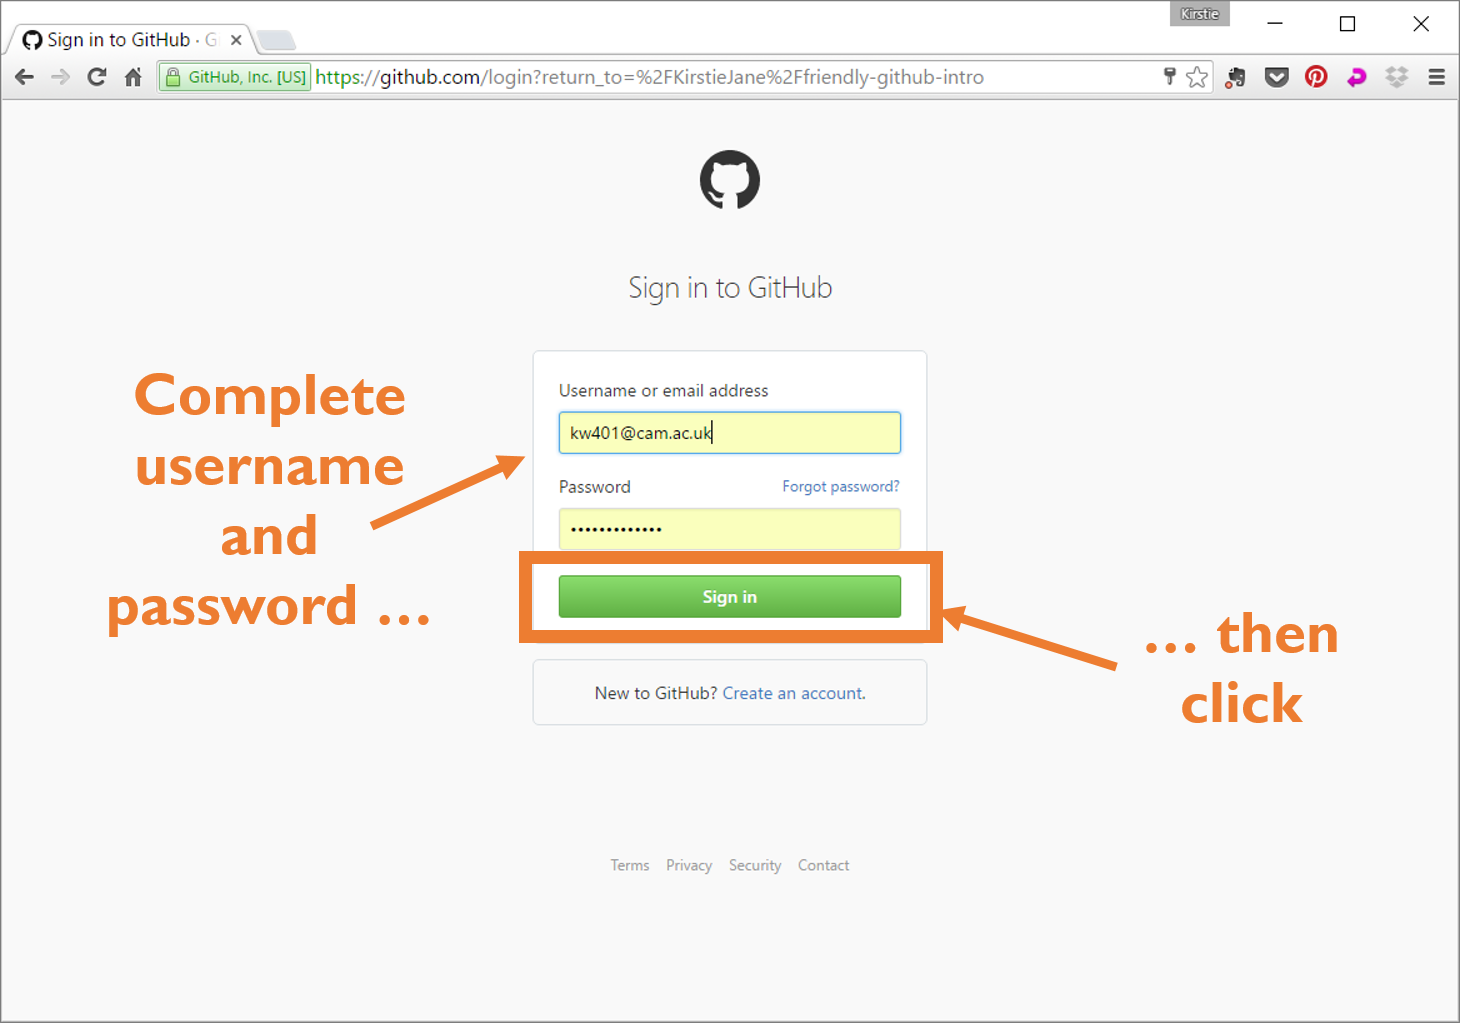
Sign in to GitHub online
Log into your github account.
-
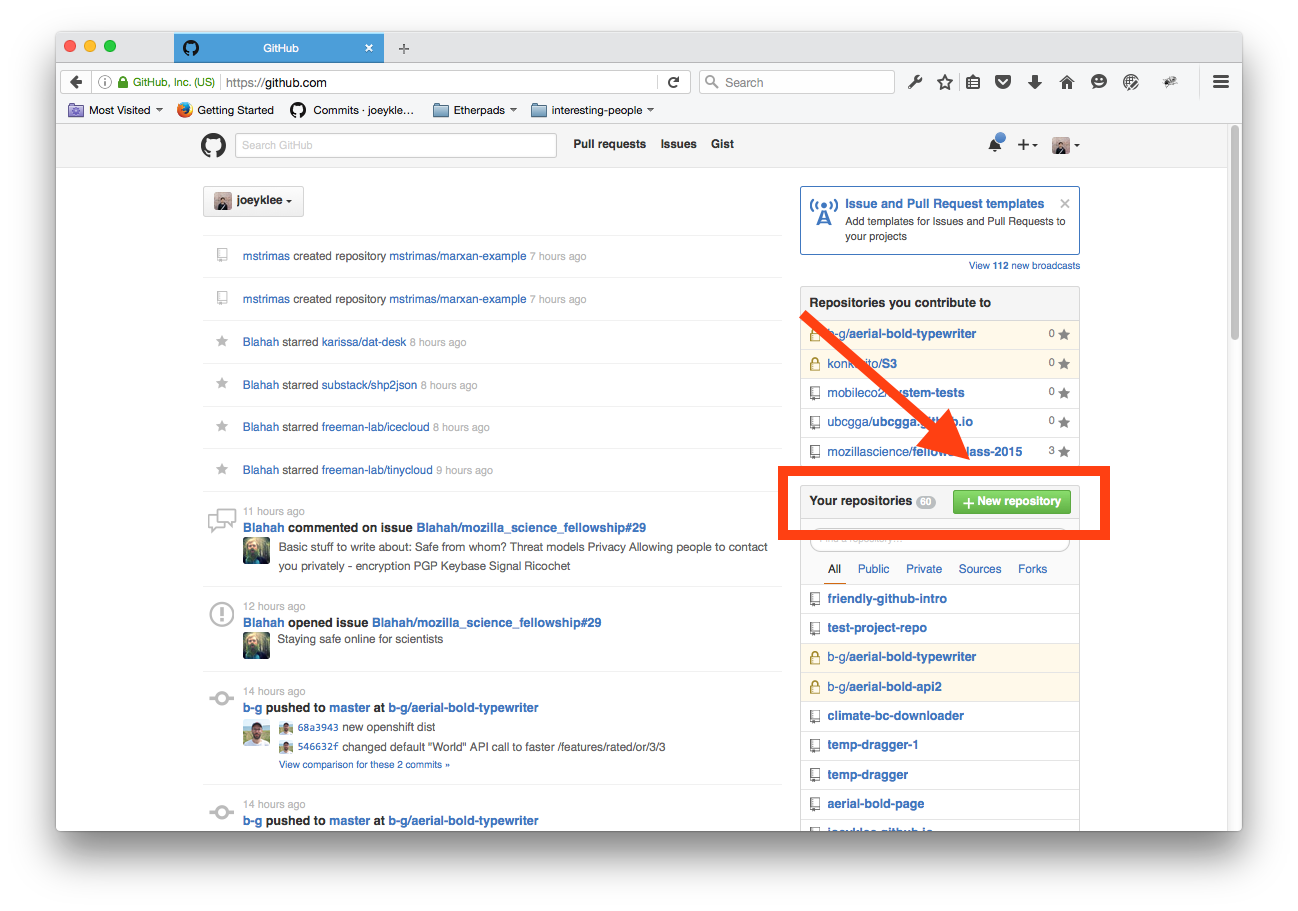
Create a Repo
Every project starts by creating a "new repository"
-
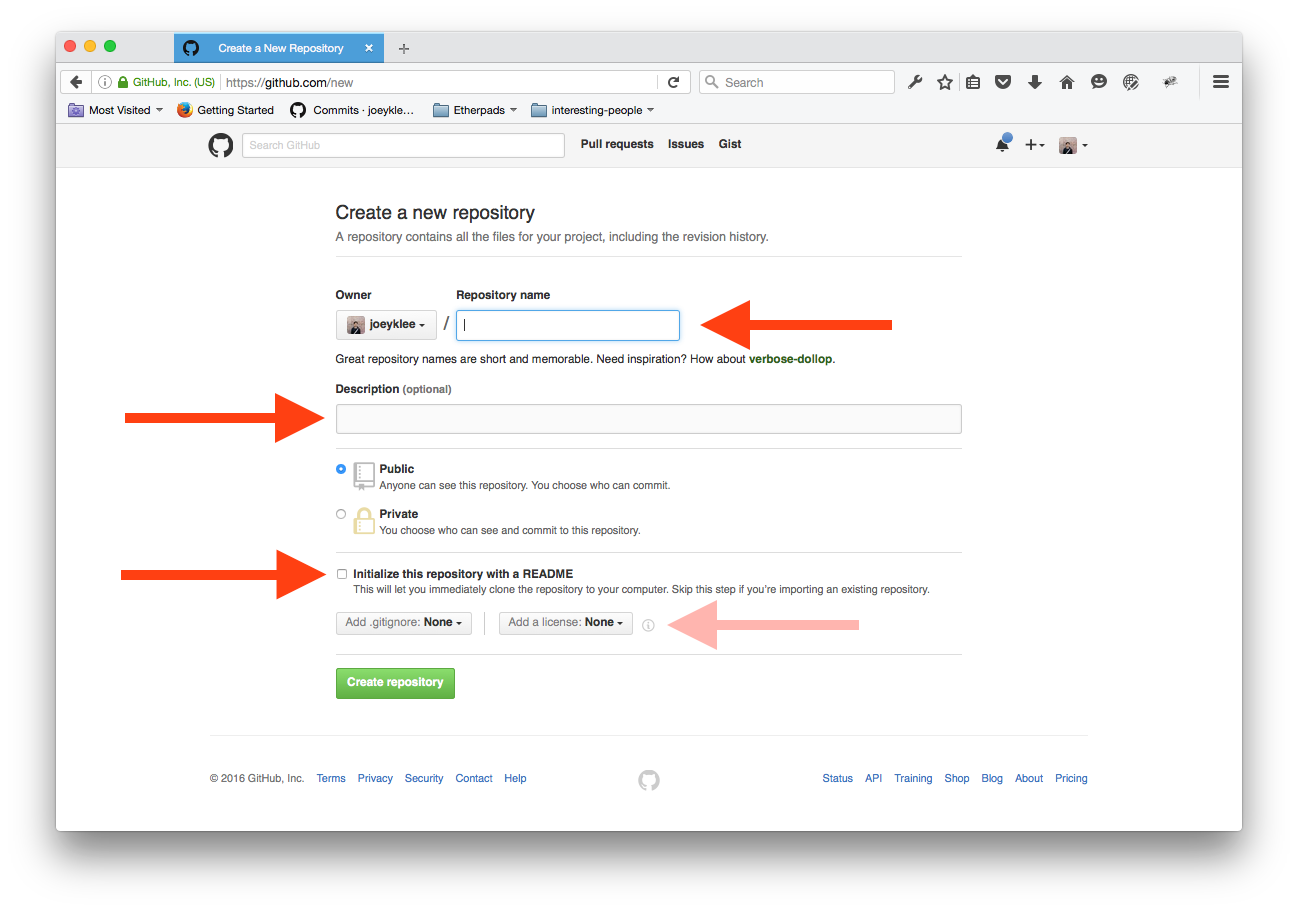
Create a title & description
Create a project title and description. Good practice is to either use dashes ("-") or underscores ("_") between words in your title (e.g. my-first-repo or my_first_repo)
Write a short description of your repository.
Initialize your repo with a README - the title and description you write above will be shown by default.
(Note that it's a good idea to create a README even if you don't put any information in it. An empty git repository is not actually empty...but sometimes seems so to windows computers. Life is just quite a bit easiser if you start out with at least one file!)
If you want to assign a license to your repo then select one here, but you can also add one in later.
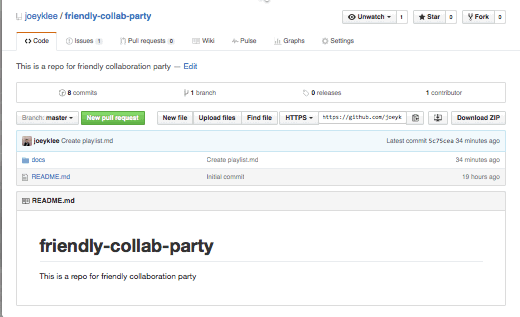
Congratulations! You've made your first repo!

-
Your first commit
Let's start by adding some content to your README. To make your first commit, you are going to follow a few steps:
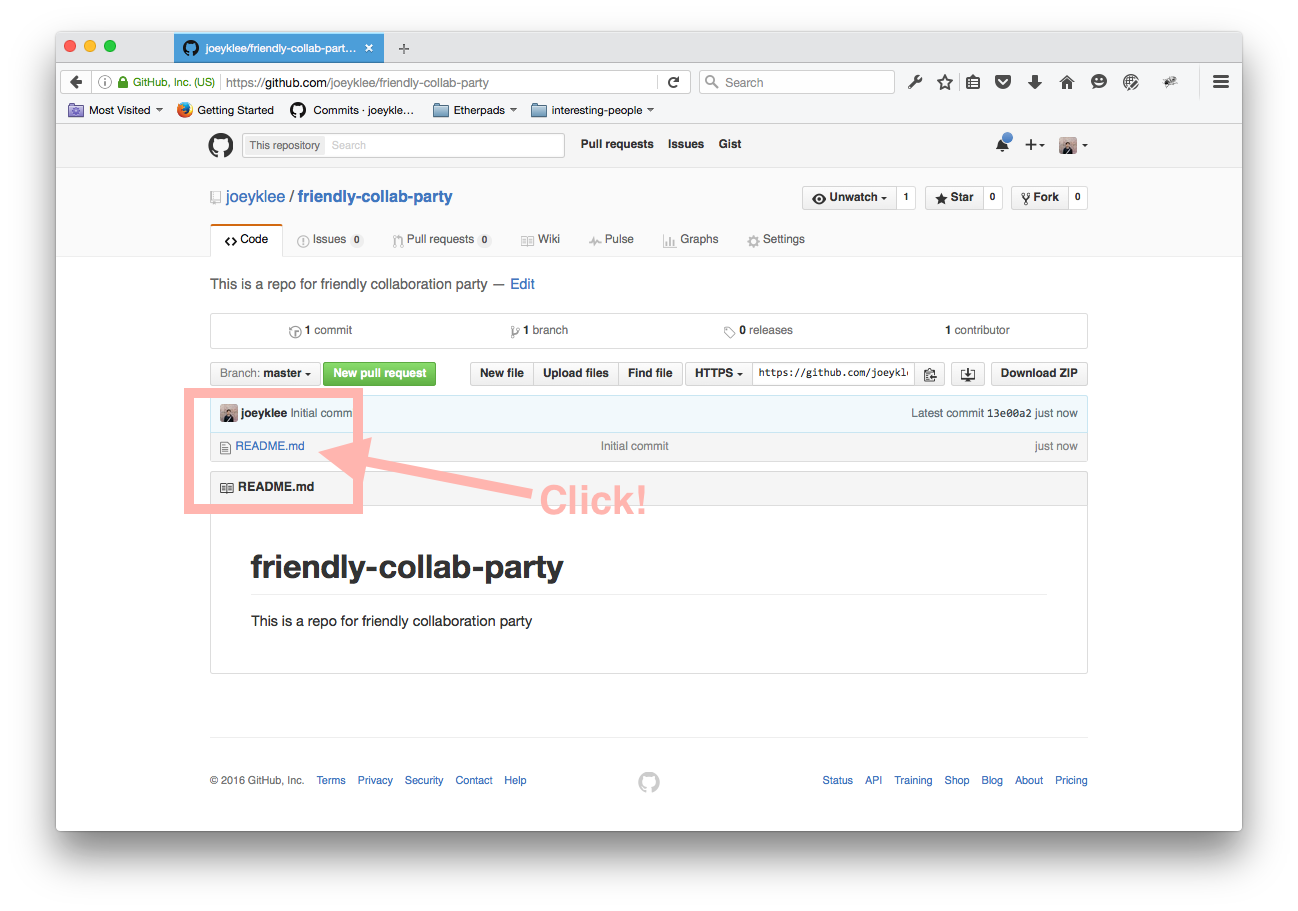
First: Click on the README.md & then edit button
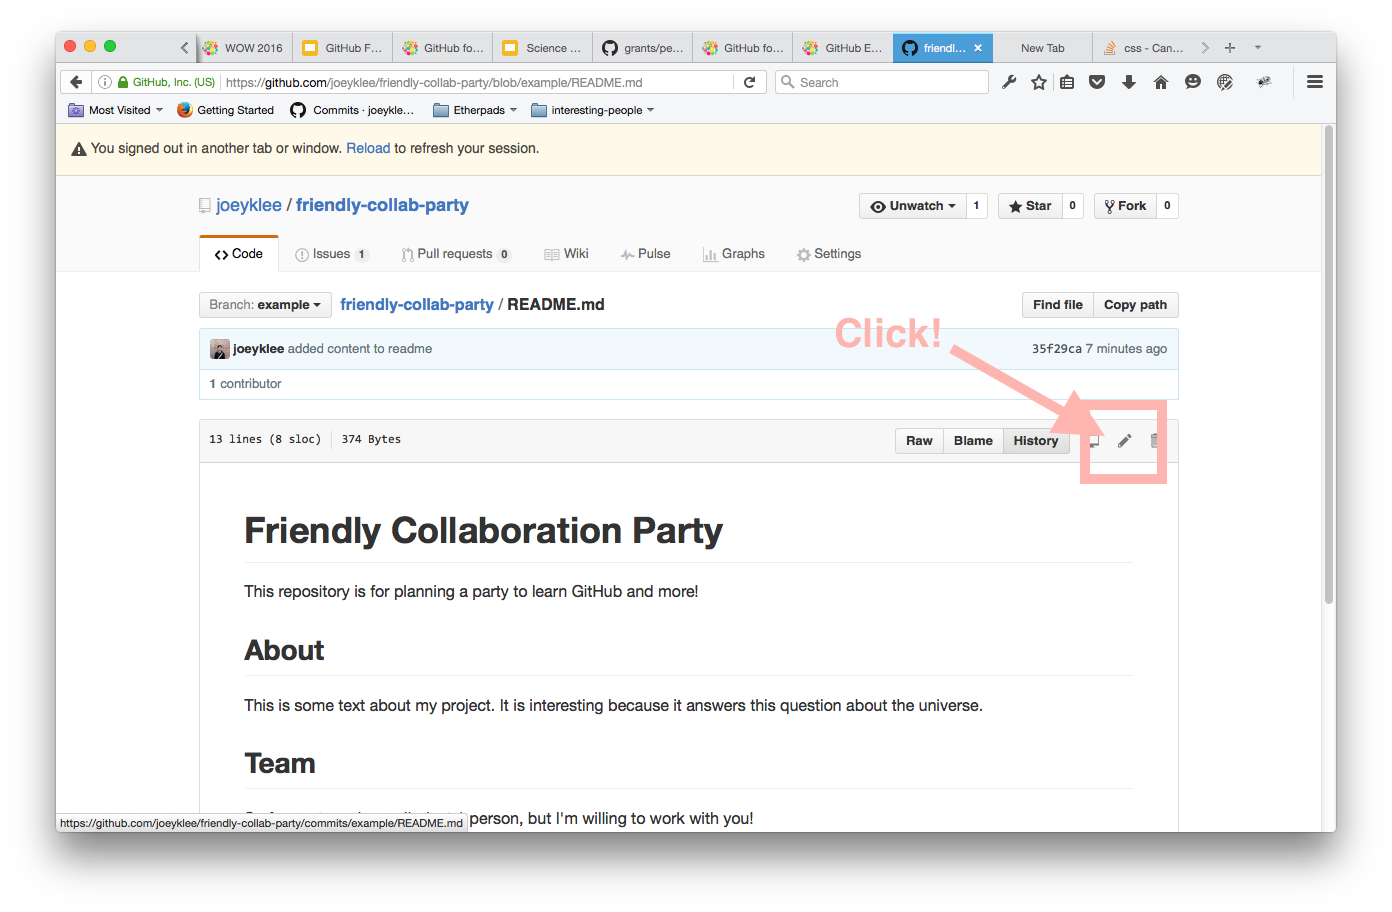
Second: Using the Markdown syntax put in the following sections and a short description for each
# Friendly Collaboration Party

This repository is for planning a party to learn GitHub and more!

## About
This is some text about my project.
Parties are great right? Let me tell you how mine will be the very best.

## Team
So far my team is small - just 1 person, but I'm willing to work with you!
I'd really like for you to bring a few more people along to join in.

## Setup & Requirements
This project requires a computer and internet.
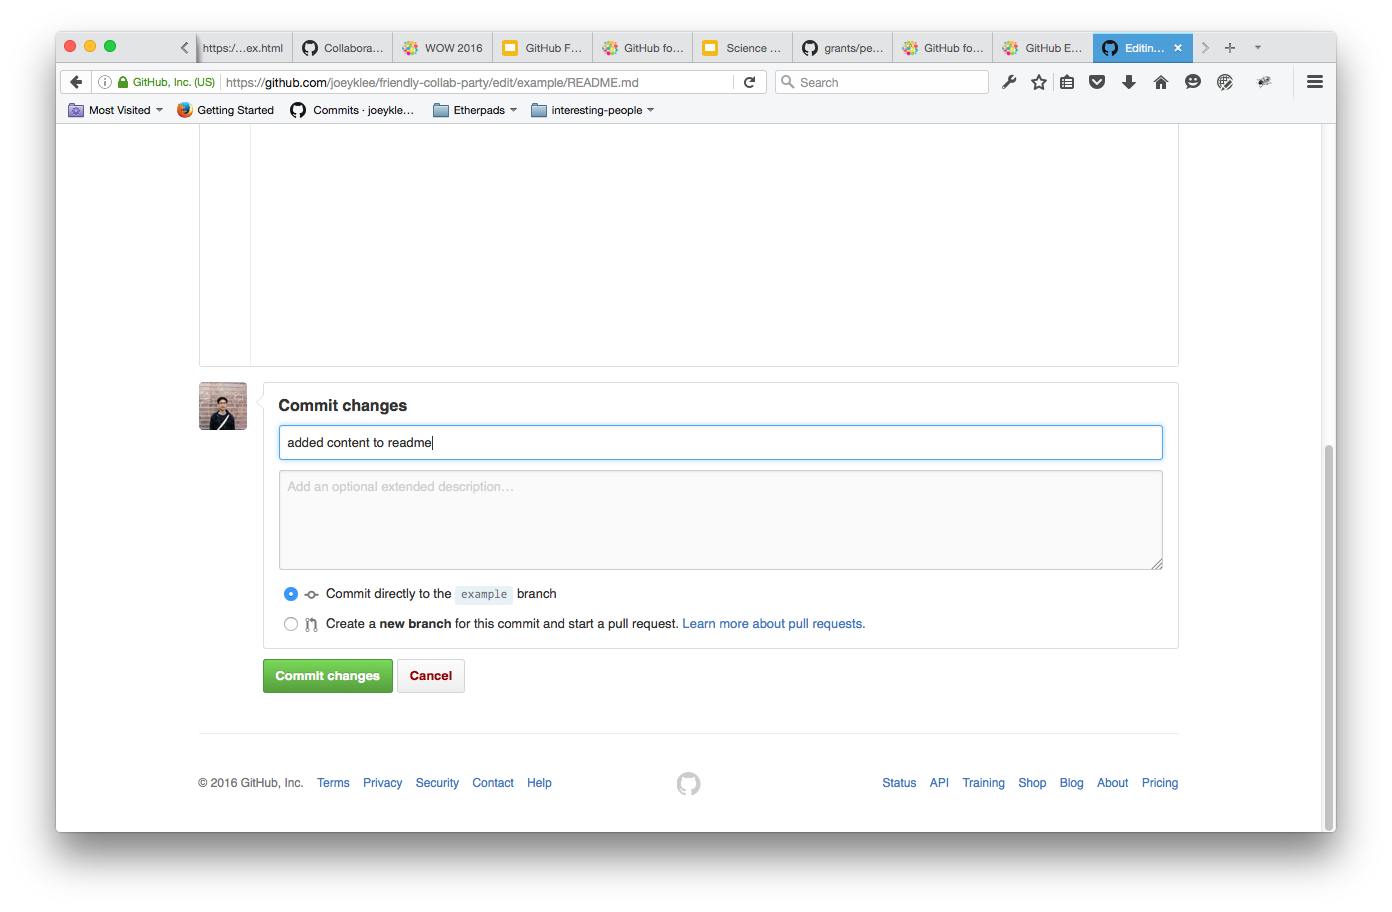
Third: Add a commit message - Your commit message should point to the changes that you've made (e.g. added content to readme) and press the commit button!
Hooray! 👏🏽✨🎉 Your first commit!
-
Create an Issue
Go to the Issues Tab and create and issue about a task you want to complete (e.g. need more detailed README or create CODEOFCONDUCT.md).
Assign the task to yourself where it says "Assignee" and "Assign yourself"
Label the task in a category you think is appropriate - or create a new label!
-
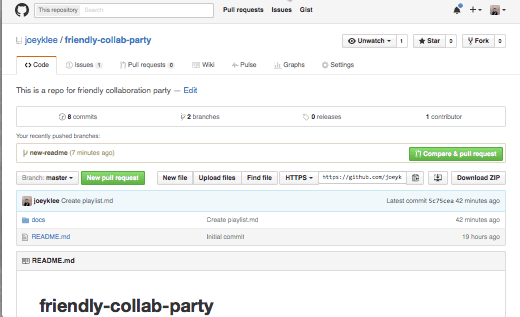
Create a branch
Create a branch to add some features to your project without affecting or possibly breaking the current state of your project.
While in your new branch, "create a new file" or "edit" an existing file - try to address the issue you created above.
-
Merge the changes from the branch
Once you've made some changes to an existing file or added a new file, try to merge that file back in to your "master" branch.
Make sure your commit message on the merge is meaningful and points to the changes you made.
-
Close the Issue
If you believe you've done a good job addressing the issue you opened up earlier, close the issue!
Glossary
repository, or repo
a collection of documents related to your project, in which you create and save new code or content.
markdown
a lightweight way of annotating a document with instructions that tell a web browser how to format and display text.
version control
a way of tracking changes to a document or collection of documents. Version control is like a time machine, it can take you back to the moment your document was created, or any other point in time when you or a collaborator saved that document.
Git
the command-line software that tracks all changes to a collection of documents
GitHub
a service that hosts your repository online and helps you work with contributors. GitHub adds a web-based interface to version control.
fork
a copy of a repository that is saved in another user's GitHub account.
branch
a copy of a repo that is contained within the orignal repo. Branches are used to work on a project features without altering the original or "master" repo.
commit
a saved change to a document in a repository.
issue
a message on gitHub that outlines a task that needs to be completed.
pull request
a request to add a commit or collection of commits to a repository.
merge
the act of incorporating new changes (commits) into a repository.